Thursday, January 2, 2014

Little Red Table

Recently finished this little table in beautiful farm house red! The spigot knob is from my recent Hobby Lobby expedition. More posts to come soon we are currently working on finishing projects and marking all the new items to add to the booth.


Friday, December 6, 2013

I love to refinish furniture so it is safe to say that I have a furniture addiction. I am always looking for great pieces to transform, even if I don't need any. The other day I came across this awesome vintage sideboard that I knew would be perfect in my dining room as a buffet/coffee station. The only problem is that I already have a buffet. It was the first refinishing project of mine and I'm pretty proud of it. I love the piece, but have decided that it has served us well in our home and is time to move on to another home. It is painted black with roughed up edges to allow the natural wood to show through. There is also an antiqued glaze over the whole piece, giving it great warmth. I love the hardware too.


I can't wait to refinish my new piece to put in the dining room. I'm still debating on the color choice, but I already found the hardware. Cody and I were driving home from Seattle and we came across a Hobby Lobby, which I've never been to so naturally I had to make a stop! I LOVED it. The place was amazing and there were so many great things! I stocked up on some really cute knobs and can't wait to use them! I'll be starting the sideboard once the weather warms up and I'm able to handle being out in the cold. It is just too cold right now. I currently have a hutch in the works that I will be posting about next week most likely. I also have a few end tables that I will be working on too. The next few weeks should be pretty busy and I can't wait to share my progress!


Sunday, November 10, 2013

I've been incredibly busy the past few weeks so I apologize for not having an update in over a month. I promise to maintain this blog more as it is a great way to share all of my projects. This last week was crazy because we were preparing for a bazaar on Saturday. Oregon City High School was having a holiday/craft bazaar so Cody and I thought it would be a great opportunity to sell our soy melts. We made nearly 200 melt packs and 150 soy shots - all in a matter of a few days! The bazaar was really fun! It was definitely a learning experience and we can't wait to do more next year!

This is what our space looked like:


Our table was set up pretty basic but the whole bazaar was a last minute venture for us. I think it kind of goes with our rustic look of our melts and shots. We had quite a few sales, so it was very encouraging! I have started an Etsy shop (here) and am working on adding the final touches to it. There are 6 scents currently displayed but I have about 12 to 14 more to add. I'm also going to add combo packs and our soy shots as well. This whole process has been really fun and I have already learned so much!

We finally sold our white hutch at our booth so we rearranged our space. I will be refinishing another hutch this week and will definitely be posting progress photos of the work. I'll include some updated pics of our space in the meantime.


Tuesday, October 8, 2013

It's been awhile since I last posted - and I apologize. We've been really busy perfecting our candles and tarts along with getting more inventory for a larger space. This past Sunday we relocated to a different spot within the antique mall which allowed us to fit in even more furniture and decor.

I went on a mini shopping spree of vintage aprons and I've been slowly getting those ready for our Etsy shop. We're not set up yet, but soon we'll be up and running with vintage aprons and candles and tarts. Just in time for the Holiday season!

Once I get the Etsy shop finished I will post a link so that you all can browse through our offerings.

We've got some great scents for tarts and candles including:
Harvest Apple (A bestseller! Already sold out in our booth. People love the cinnamon and apple combination. It really is the perfect fall scent.)
Pumpkin Spice
Southern Pecan
Cranberry Marmalade
Cinnamon Buns
Salted Caramel Corn
Creamy Vanilla

We have a ton more as well - but wanted to focus on more of the fall/holiday scents since that season is pretty much upon us. Crazy how time flies!!

I will go ahead and post the photos of our relocation - it is simply amazing at how much difference extra ceiling height and light can bring to a space. Even though our space is only 2 feet deeper, it looks tons bigger.


Here is a close up of the yellow table from the above photo. It is painted in a vintage yellow color and has been distressed for that perfect shabby chic/farmhouse look. This table would make an excellent entry table or for behind the couch. I really wanted to keep this table, but didn't know where I'd put it. It is on sale for $74.


I will post more later this week once I get my aprons displayed and when we make some soy tarts. I also have a few furniture projects in the works too that I can't wait to share!

Sunday, September 8, 2013

The other night we made our first batch of soy candles. It was really fun and wasn't as difficult as I had originally anticipated. We decided to package our candles in mason jars for a rustic feel. Our soy candles are Eco-friendly and vegan so it seemed fitting that we were simplistic with the presentation. This also meant we didn't need to worry about dying the wax - which saved a step. The candles turned out great and we were really pleased with our first efforts.

These are all of the supplies we used for the candles. The rubbing alcohol was used to clean out the mason jars to ensure the candle wax adhered evenly. It is very important to use weight measurements to ensure the most accurate amounts.


The clothespins hold the wicks in place so that they remain centered in the jar. A centered wick ensures an even wax pool which allows the candle to burn evenly.
 

This pitcher is made for candle making. We put it on the electric griddle so we could control the temperature a bit easier.


The wax is almost melted! It is important to leave the wax alone while it is melting. Less handling of the wax is best.


After the wax has cooled (it needs to cool a bit after adding and mixing in the fragrance), it gets poured into the jars. The wick can be rearranged after the wax has been poured to ensure it remains in the center.


Once the wax has cooled down and solidified - the candles should look like this!


Over the past few days we have been testing our candles to see how powerful the scent carries when burned. The Love Spell scented candles have a bit more fragrance in them than the Honeydew Melon - but unfortunately they don't have much of a hot throw. The cold throw is amazing and they smell delicious so it was disappointing when we discovered the scent was hardly noticeable when the candles were lit.

After a bit of research, Cody determined that our error was not adding in the fragrance at the right temperature. We were about 10 degrees short of where we needed to be. I never knew that candle making was such a science! Tonight we made another candle and in a few days I will burn it to test the hot throw. I'm hoping that this will fix the issue. We ordered a lot of fall and winter fragrances, so we need to perfect our "recipe" to ensure an aromatic and high-quality candle. Once we have our candles ready to go, I'm going to set up an Etsy shop! I'm super excited for this adventure.


Monday, September 2, 2013

Officially Open!!!

Today was our second official day of business at Snider's Hill Theatre Antique Mall in downtown Hillsboro. We finally got everything set up and displayed the way we imagined. It was definitely stressful yesterday when we were moving everything in! At one point we weren't sure that we could fit in all the pieces that we had planned, but in the end it all worked out.

After getting everything in the space, we then had to decide how to arrange it. I wanted to make sure that everything was easily accessible while also looking aesthetically pleasing. It took a bit of playing around and multiple arrangements until we found a flow that worked just right.

Our main piece that is featured in the space is this shabby chic cabinet/hutch with chicken wire doors. I found an old hutch that I painted with chalk paint and distressed. We've already received several compliments on the piece and have a few interested parties. I'm hoping that the piece goes quickly...however that means that I'll have to refinish one too! It seems that this refinishing furniture hobby will keep me busy - which is fantastic!

Here are the photos from our booth:


Our next project is to add some type of lattice or pallets or something against the stairs so we can hang items from it. I also want to add a few lamps to enhance the lighting in our space as it is a bit dark. I think our items would benefit well from being displayed with soft warm lighting. I have a basket full of vintage linens and doilies - I'm hoping those sell well as I enjoy hunting for those pieces. I know there is a bit of a learning curve to what sells quickly - here's to hoping that we are quick learners!

Tuesday, August 27, 2013

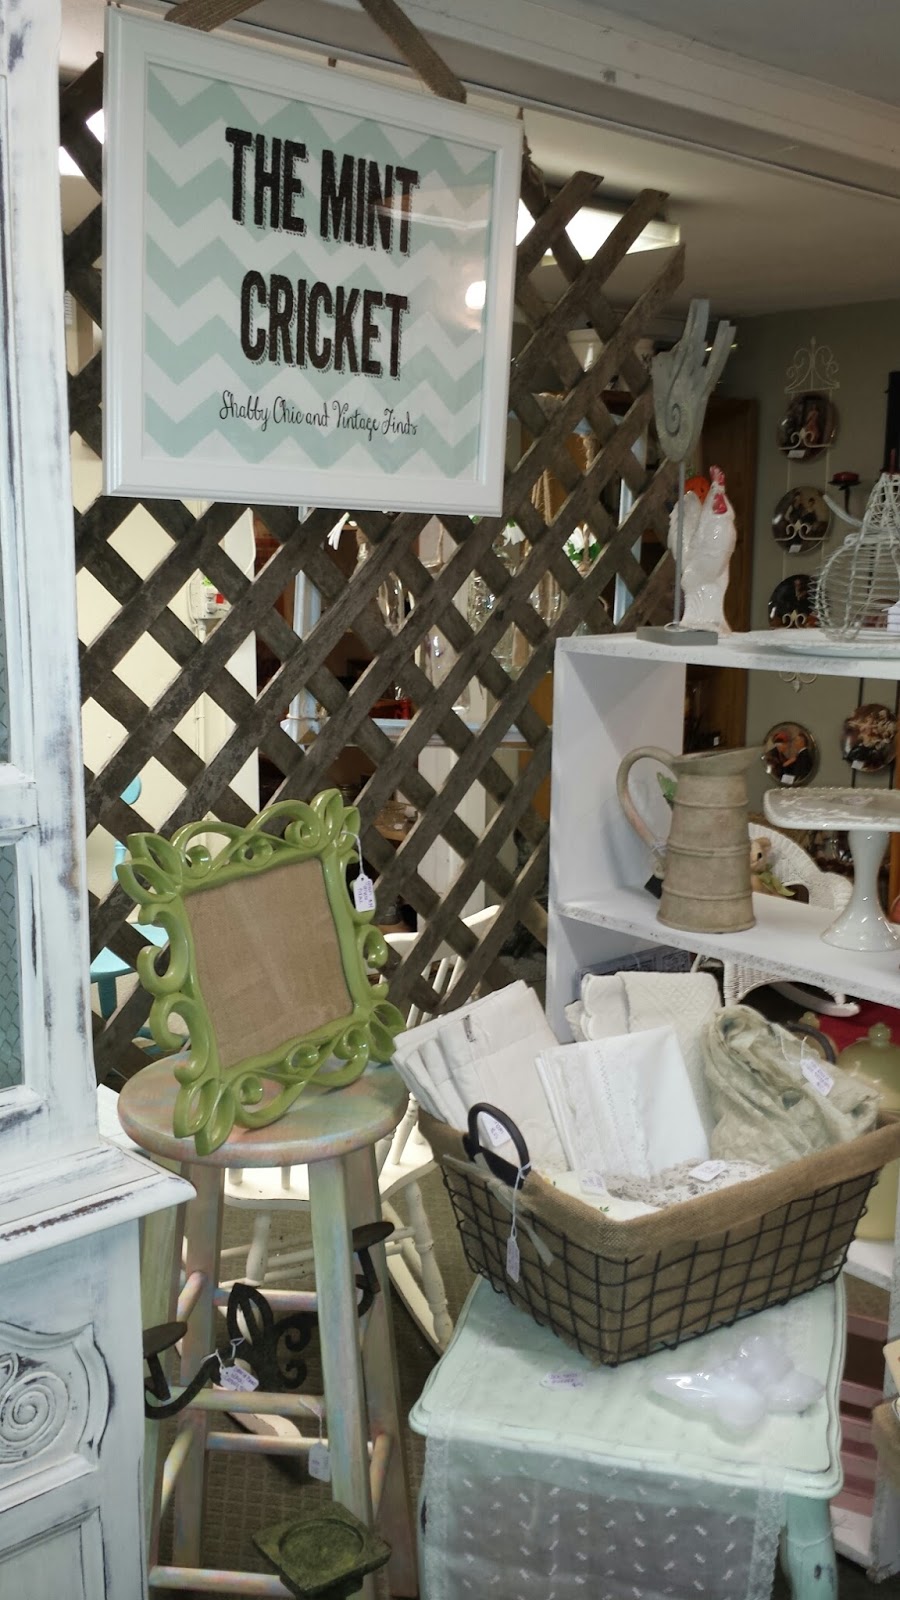
We got so much done today! I was able to finish 3 small end tables, a chest, and a tiered wire basket. Now that we are starting to complete more and more projects, I can really start picturing how our booth will come together. I can't wait until we get everything in there and displayed.

My favorite piece of furniture is probably this mint table. I love all the curves and the subtle mint color. It wouldn't be complete without all the distressed finishes.


This robin's egg blue chest is another one that I'm really pleased with. I really like the painted hardware with the worn edges. The light wood showing through adds a lot of brightness to the chest. It looks kind of beachy - and will be a great display to put some linens in. Our booth will have plenty of vintage linens including tablecloths, runners, doilies, and pillow cases.


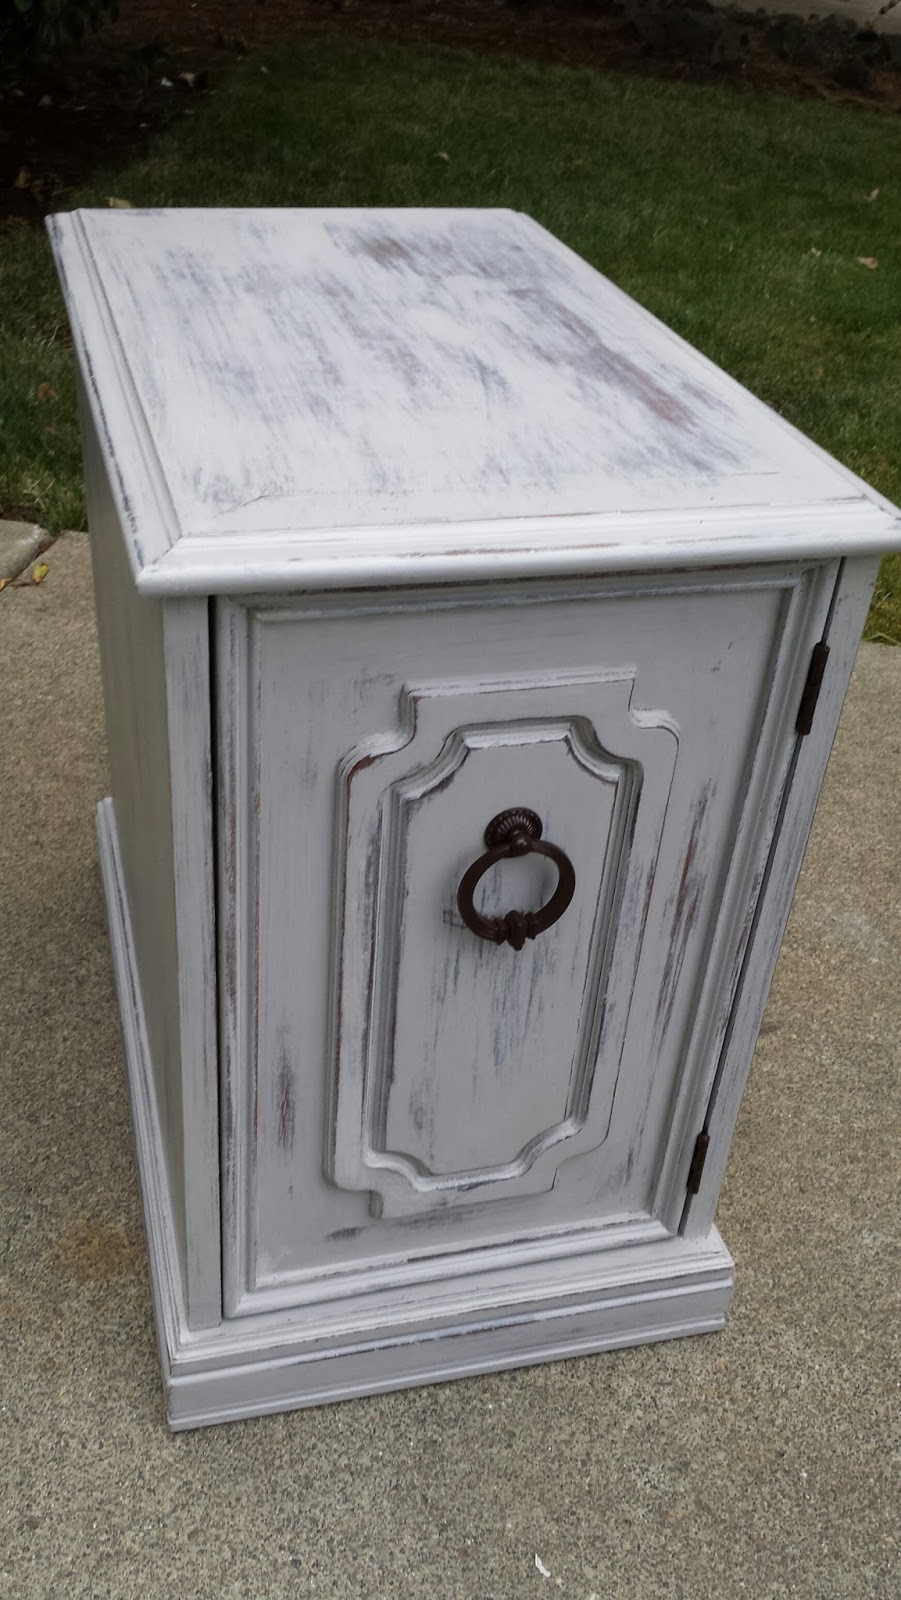
This grey end table is Cody's favorite. He wanted to keep it at the house but we really don't have a space for it. It is a really heavy piece that has a door on the front for extra storage. I chose a dark brown paint for the hardware to complement the natural color of the wood underneath. 


The antiqued yellow tiered stand is another great find! I loved the shape to the piece so much, but couldn't leave it the metal color as it looked too new and wouldn't work with the rest of the items. I dry brushed it a vintage yellow color so it will contrast nicely against doilies that I will display in it.


This final table is a classic shabby chic piece. I painted it an off white and lightly distressed the edges so the natural wood pulled through. I didn't get too crazy with distressing the chalk paint - I wanted this piece to be simple yet elegant. The two tiers to this table along with the curves give it enough character on its own, so I wanted a classic color.


I'm so excited to finally be sharing some finished pieces! My next journey is a hutch that I'm refinishing in the off white color. There were glass doors on the hutch but I removed them and will be putting chicken wire in place instead. It will be the perfect country furnishing to display all sorts of decor.